May 24-June 22, 2018
** Continuing to fit the cowl. It is a long process to get it just right. I think I got it fitting good with tight seams, fairly easy installation and removal, and surfaces aligned an round were it should be. The oil access door works really well with the hidden hinge and button latch.
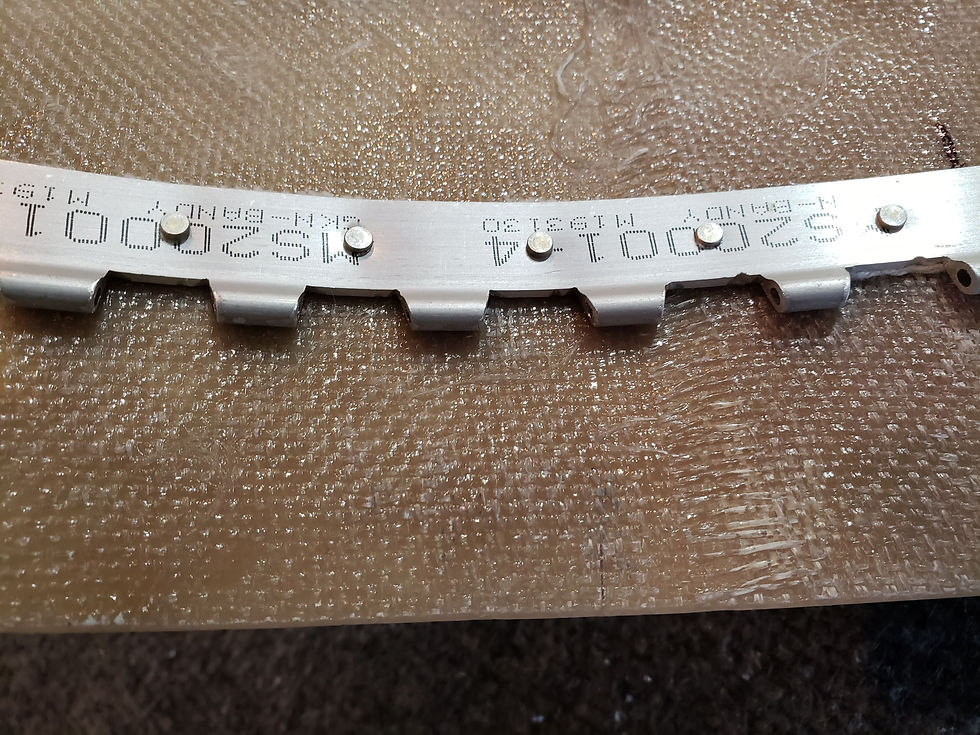
** The holes for the hidden hinge were located by drawing a line perpendicular to the hinge where I wanted the rivet to be. Then using a compass to mark a distance back on the fuselage. After locating the cowl in place the lines and distances were transferred back to the cowl and the holes for the rivets drilled. I originally had the hinges going all the way down the side for the upper cowl. This was not good, since it locked the cowl in place, even without the pins in. The hinges vertically fought the hinges horizontally were the cowl splits. I had to cut away most of the vertical hinge to get things to release well. A second benefit is that the pins go in so much easier. The cut away part turned out not to be needed anyway. The cowl is nice and tight. Some cotton chaffing strap prevents any air leakage.
** To get the spinner to fit I had to cut it down by 3/4". It is made of Kevlar and not to bad to cut with a diamond Dremel rotary bit , but really hard to sand to the final mark.
The oil access door flange was laid in after the door was cut out and then wrapped in plastic. It was tapped in place and fiberglass placed on the inside. After hardening the door was removed and the hole cut out. Filler was used to fair in the door.
** I put a single fiberglass layer over all the rivet heads so they will not break out the filler and show later. Sanding and filling some more.
** I created brackets to support the rear lower cowl between the exhaust pipes. The cowl is 2 inches below the fuselage at the exit. If this turns out to not be enough a longer hanger could easily be installed.
** The air inlets on the right side did not match up very well so I did a lot of filling and shaping with flox to get the top and bottom to match.
** Smaller diameter hinge pins did the trick to ease the installation. They can now be inserted by hand. The larger pins were so tight that a drill was chucked onto the end of the wire and spun to get them in. Not good.


